Basic Feather Drawing & Carving Drill - Making a Typical Side-pocket
The Vic Kirkman School of Wildfowl Art
presents
The Fundamentals of Wildfowl Carving
1
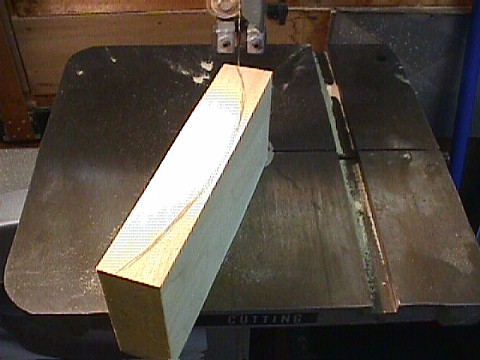
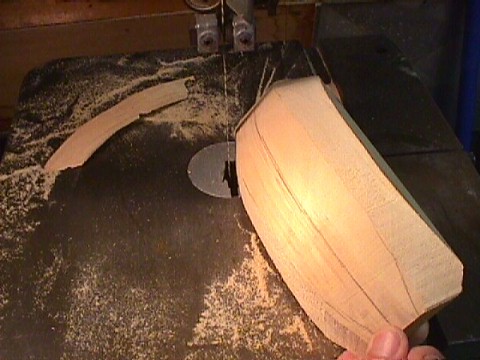
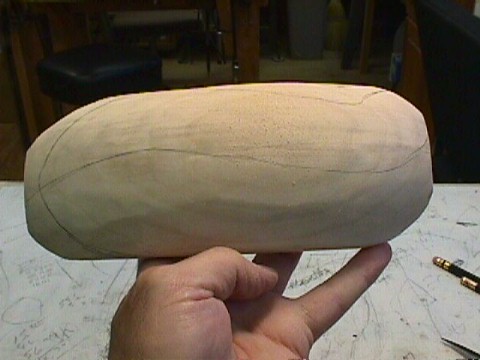
For this drill use a block of tupelo about 1.5" x 4"x 8". Draw an arc along side of block as shown. The ouside, flat grain should be facing toward the top carving surface.
2
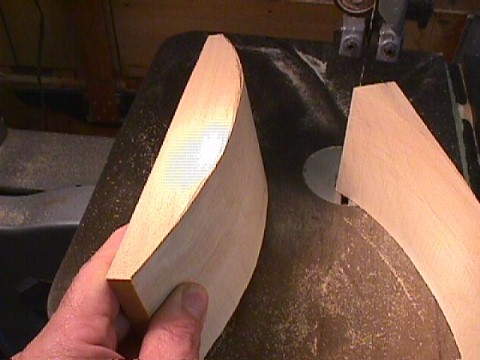
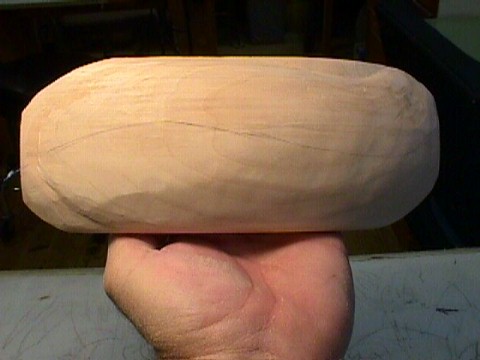
Bandsaw along this arc to get the block shape shown here. This shape is roughly the shape of a typical waterfowl sidepocket
3
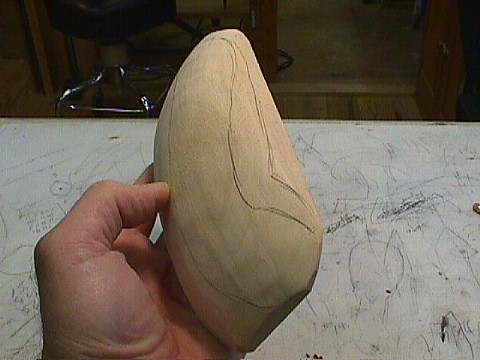
Draw another line midway along the side of the sawn out block. This line represents the point at which we will round down to in creating the sidepocket shape.
4
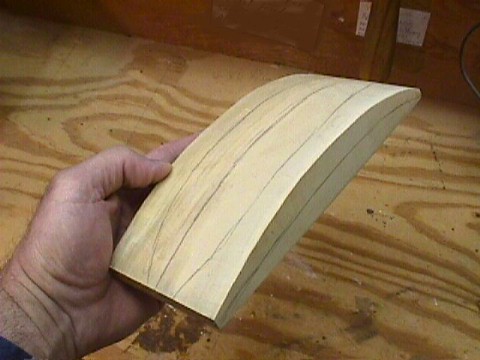
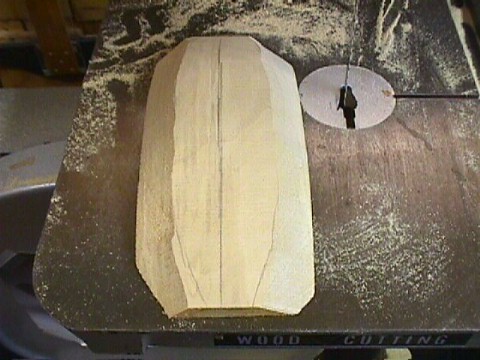
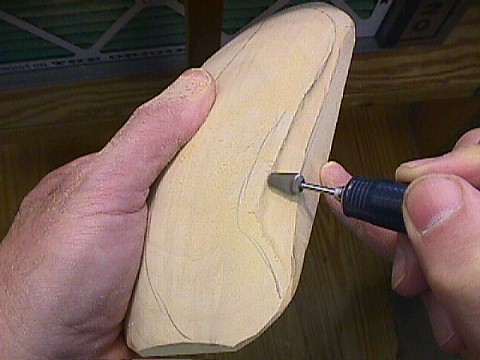
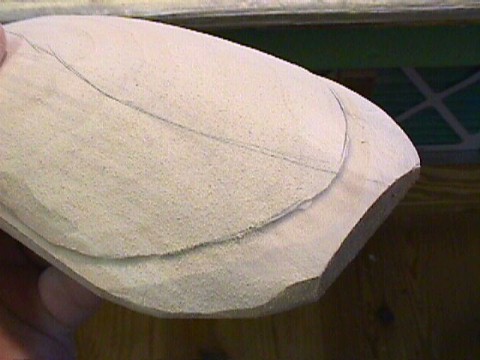
Draw a centerline on the top surface of the cutout and the two mirrored arcs on each side ot it as shown in image 4.
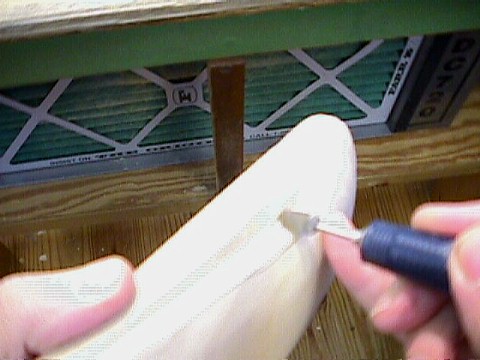
If you are an experienced bandsaw operator you may very carefully pull the block though the bandsaw to remove the corners as shown as in image 4. Be sure to keep hands well clear of the blade.
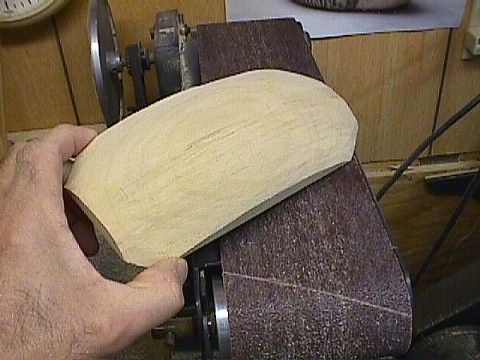
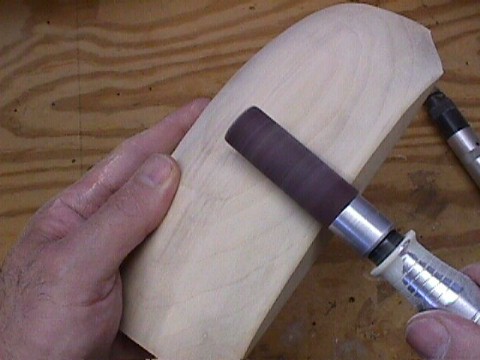
The corners may also be removed and rounded and smoothed with a Coarse and fine belt sander as shown in images 7 & 8. The sanding drum attachment for the Foredom is useful in smoothing out the bumps and getting a smooth surface for laying out the feathers in pencil. Image 9. Keep fingers and clothing clear of belts and bits.
5
6
7
8
9
11
13
14
Using the same bit, cut into the vertical step horizontally to create the inside corner from which we round the in both directions to get the shape seen in image 15.
Step down a little around the margins of the sidepocket in order to enhance the shape and provide some starting depth for cutting in the feathers. See image 18.
15
This is the shape you are going for. all is needed here is to get a few more lumps and bumps out for a smoother drawing surface.
16
17
Use 220 Swiss sandpaper, rolled up tight as shown, for enhancement sanding along the margins of the sidepocket shape.
This is what you should see in your carving at this stage.
Notice the high point and flow line in red.
Draw the side view of the sidepocket on the convex side of the practice block and lay in the high point and flow line down the center of the shape as shown in image 10
Draw a top view of the side pocket line along top margin of sidepocket as shown in image 11.
10
12
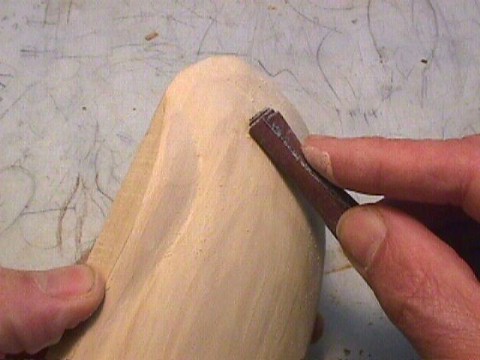
Using the large coarse bud-shaped stump cutter cut the vertical wood away to create the stepped ridge as shown.
Medium speed for safe operation.
18
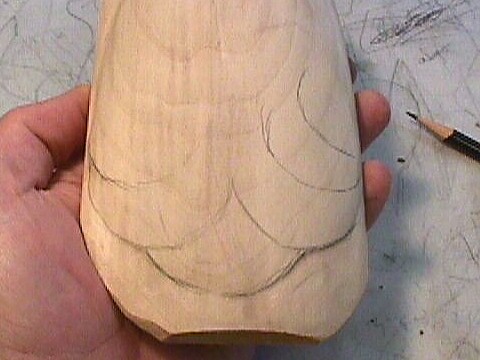
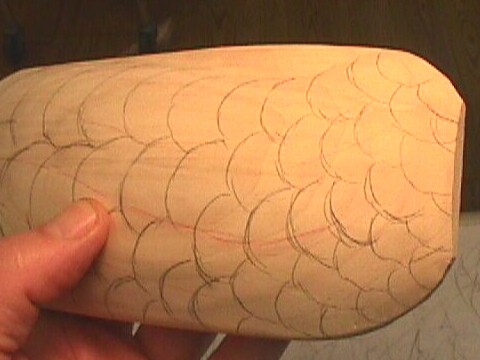
Start drawing the sidepocket feathers from the posterior end of the sidepocket. I always draw and carve from the rear forward.
21
20
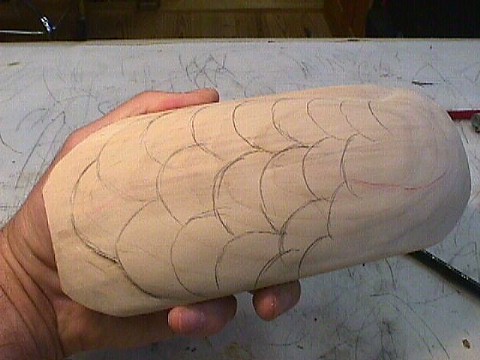
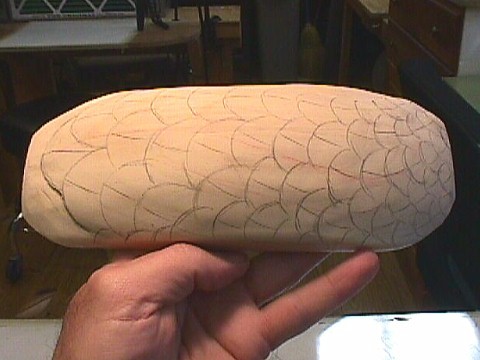
The entire sidepocket with feathers drawn and ready to begin the feather carving procedure. For practice and instruction puposes I have left extra space between the feathers.
Notice also the the feathers follow the direction of the red flow line and tighten up slightly toward the breast region.
19
Continue drawing the feather pattern. Notice the gradual reduction of feather size and spacing as the feathers move forward on the sidepocket